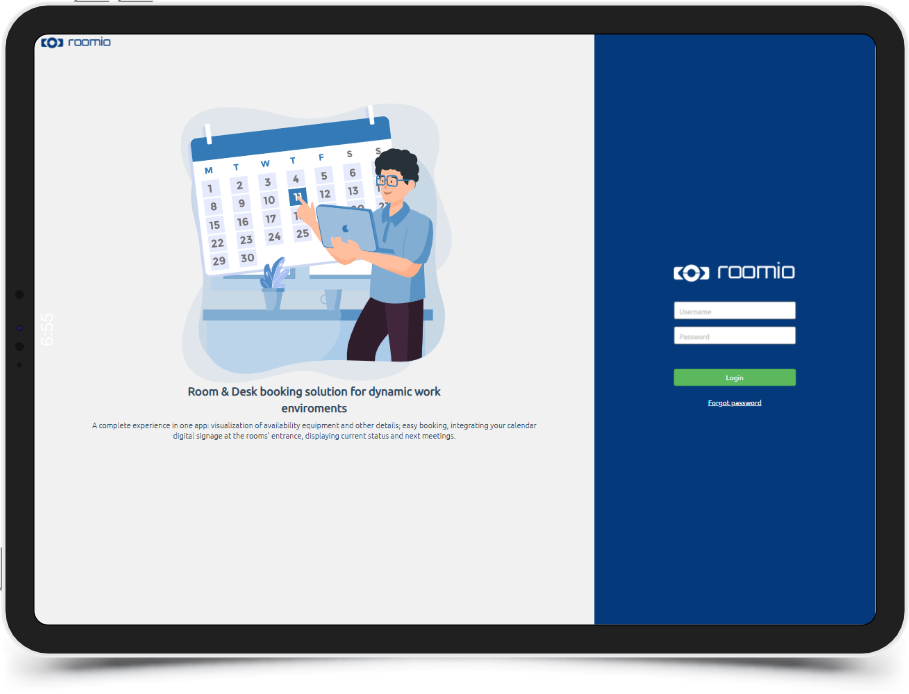
With roomio desk booking app you can effectively manage desks and other workspaces, making the most out of your office space, minimizing confusion and simplifying the scheduling process.
Watch the video for a step-by-step guide through the roomio desk administrator interface or read the tutorial below.
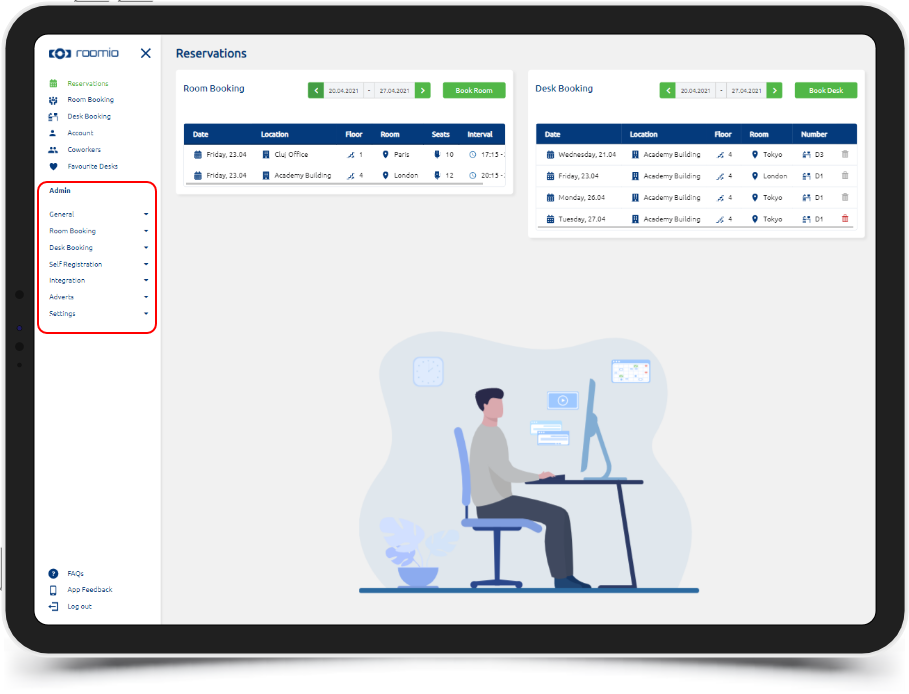
Let us guide you through your admin account in roomio desk booking.
Once logged in, you will notice, on the side-bar menu, a list of available actions for roomio account administrators.
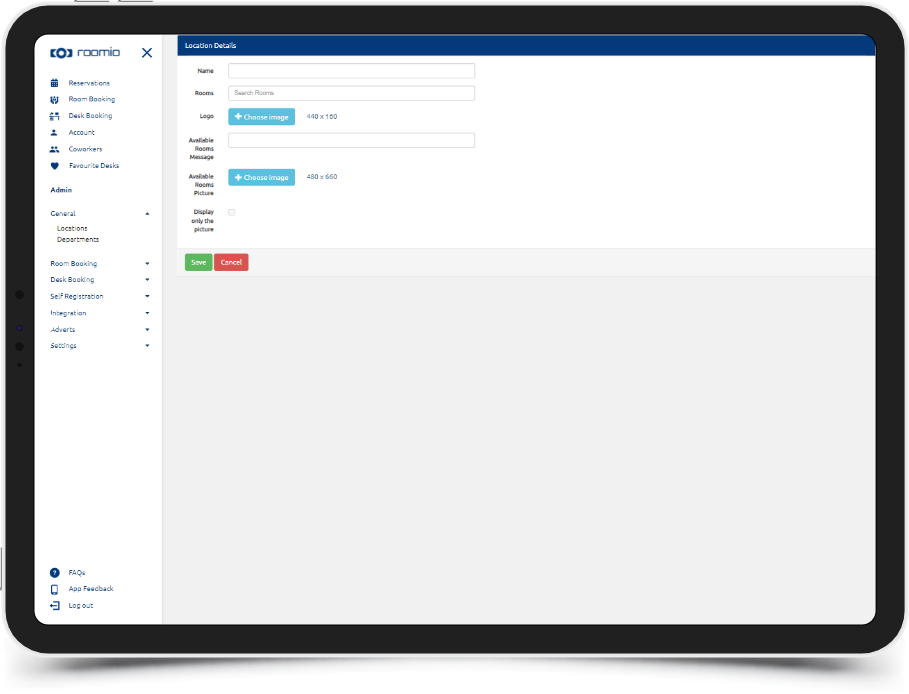
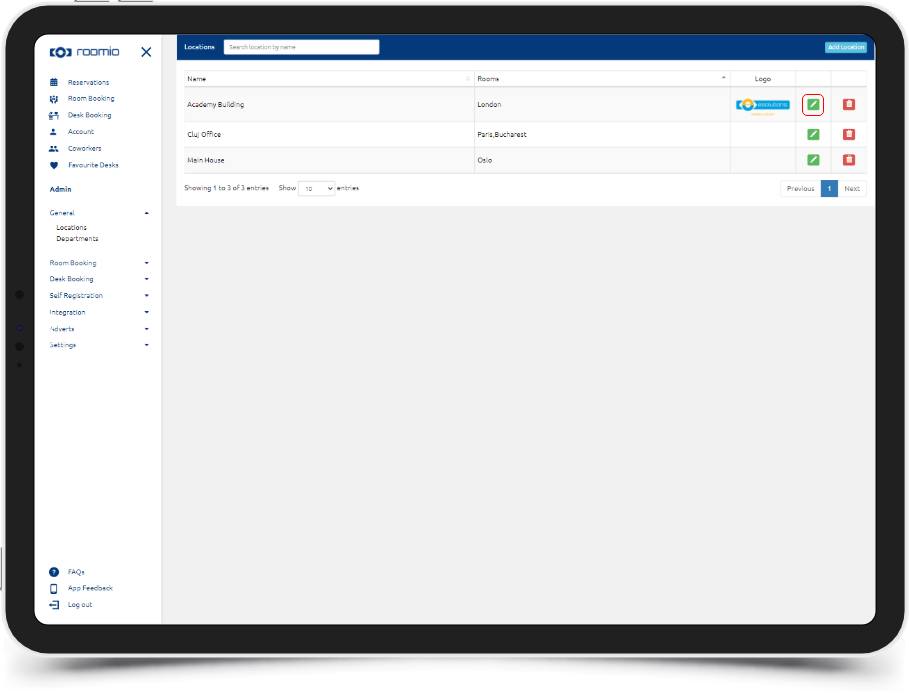
As a roomio desk booking admin, you will be able to add new locations to your account:
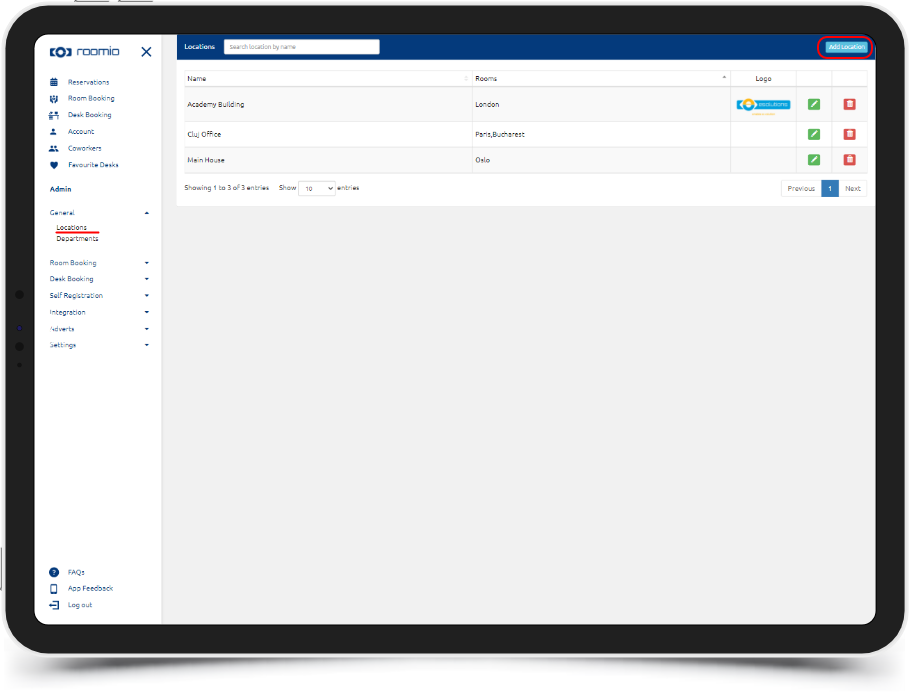
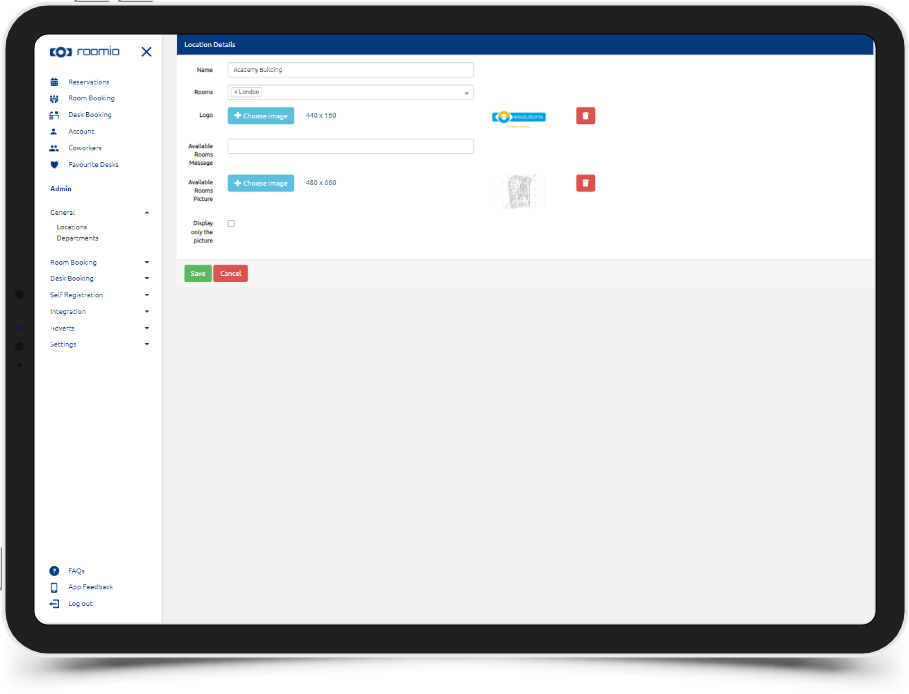
Or edit the existing details:
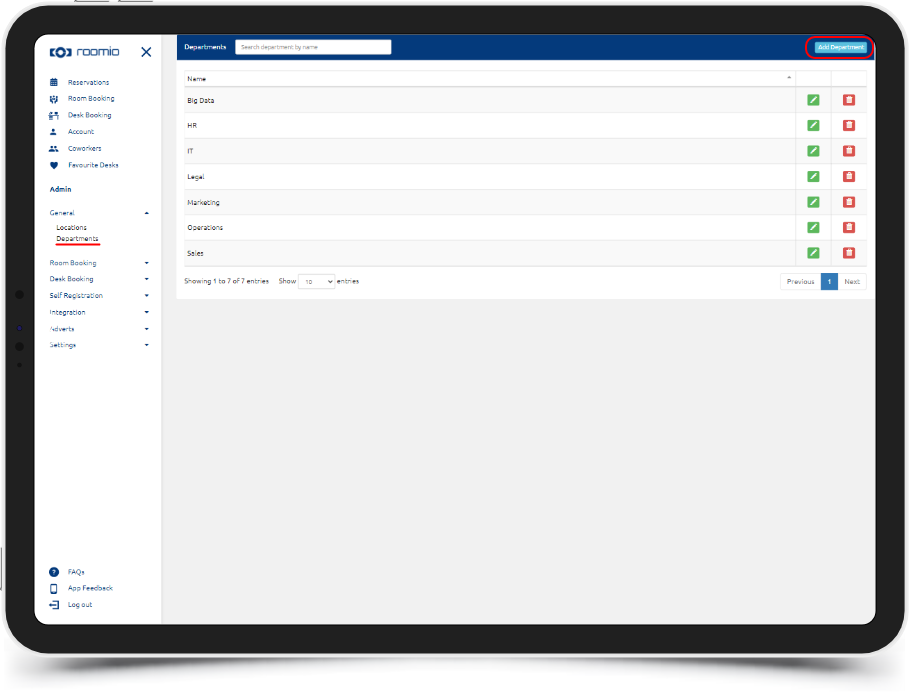
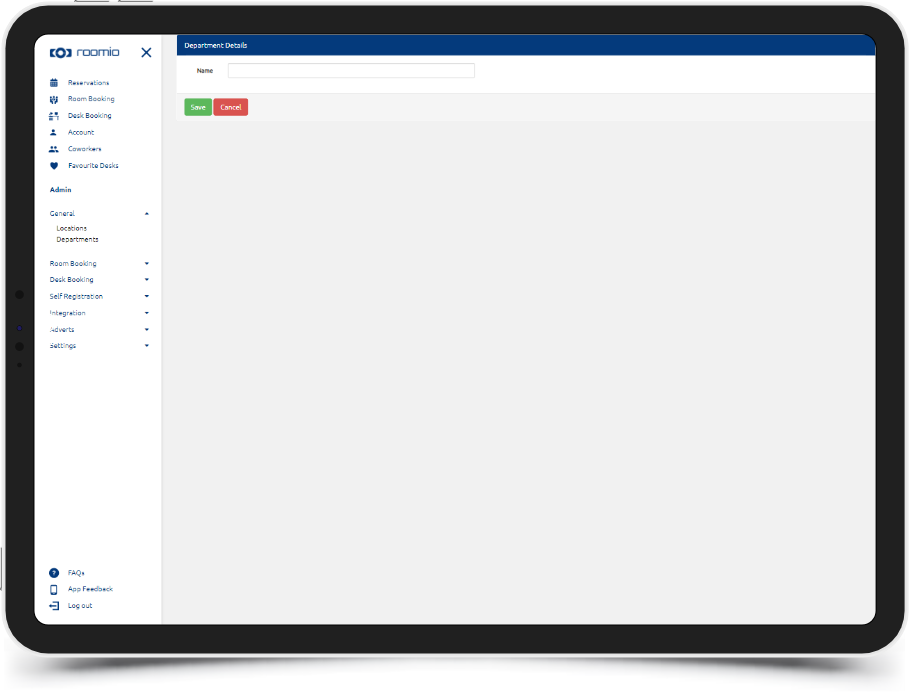
You can also add or edit departments, according to your organizational chart.
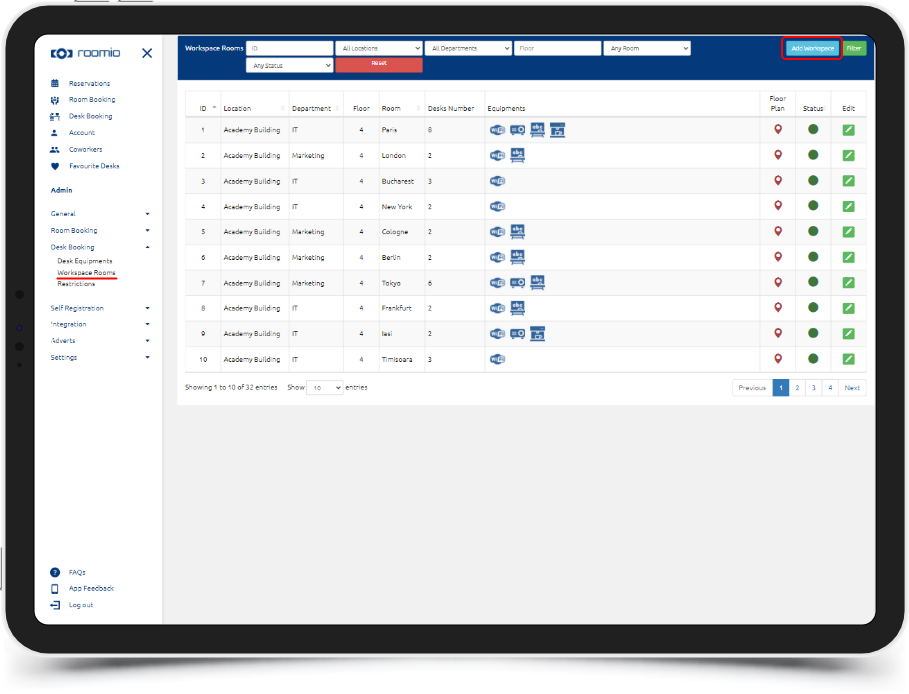
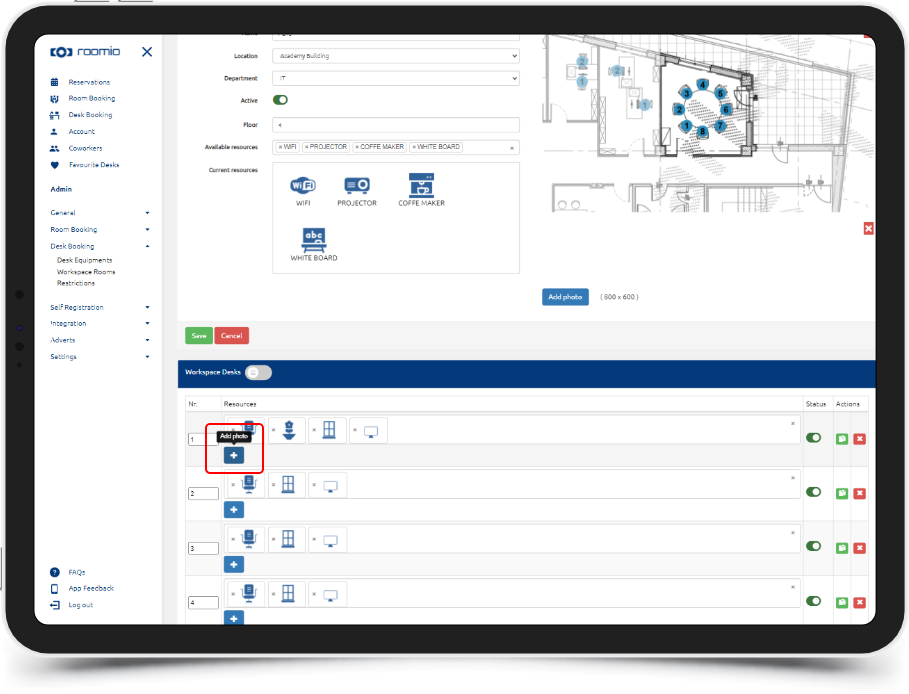
Most importantly, you can add new workspaces or edit your existing ones:
Including location, department, floor, and available resources. You can also add photos, so your colleagues can easily identify the rooms.

Once you have set up your new workspace, you can start adding desks.
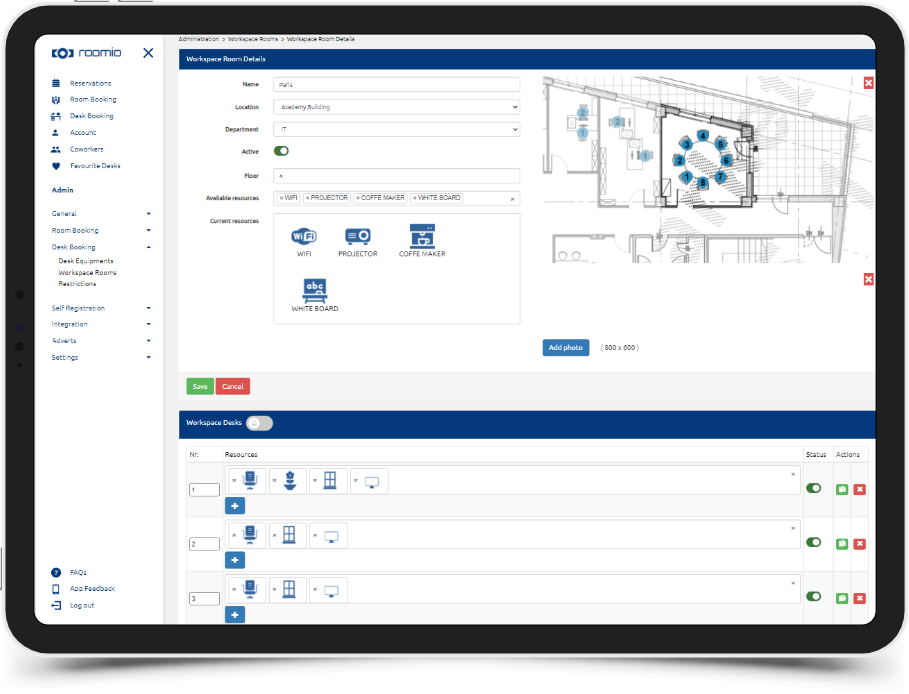
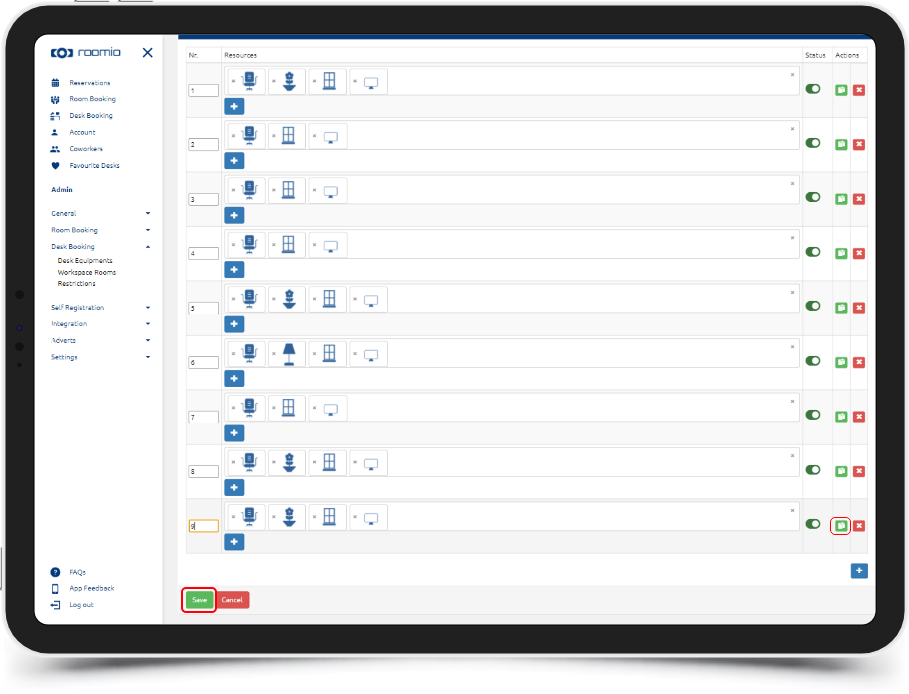
Select all available resources for each desk, and keep adding, until you reach the number of available desks in the room.
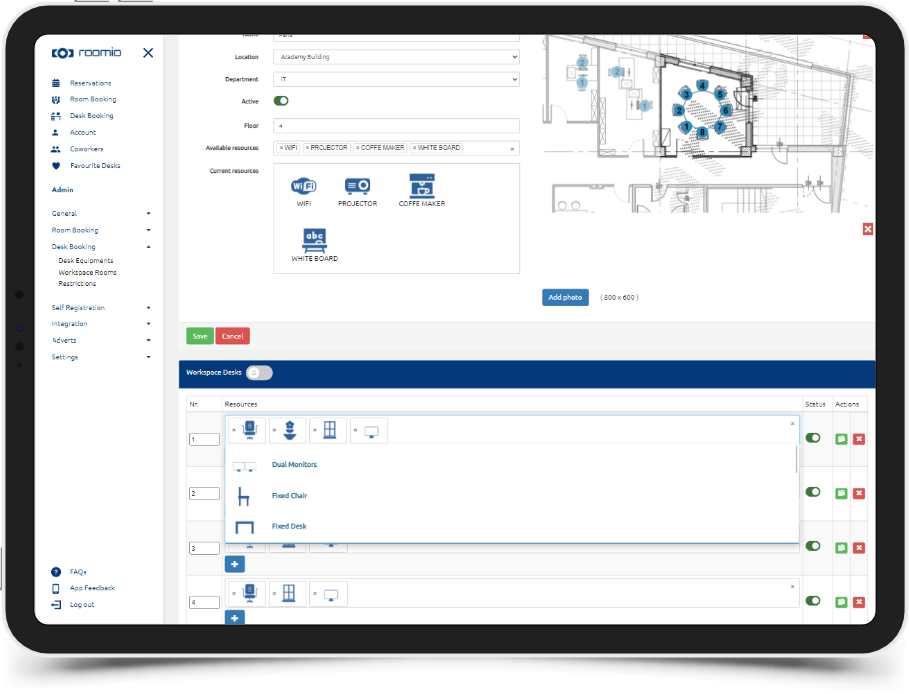
To make sure they are easy to identify, you can also add photos of your desks in the app.
More desks with the same equipment? Just duplicate, and you’re done in no time.
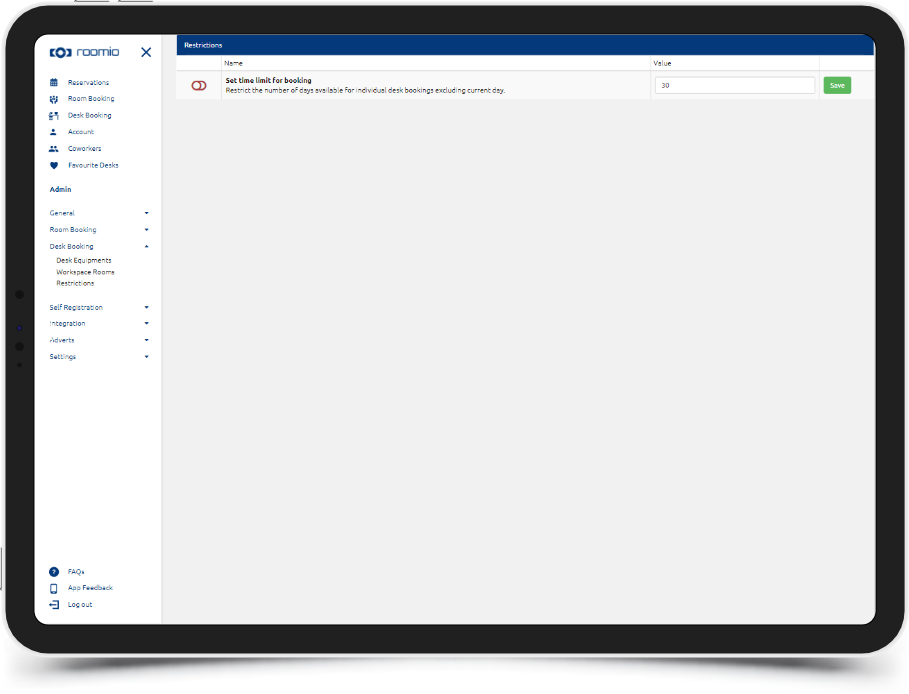
You can also set up restrictions, such as the number of days available for individual desk bookings.
Or perform actions such as:
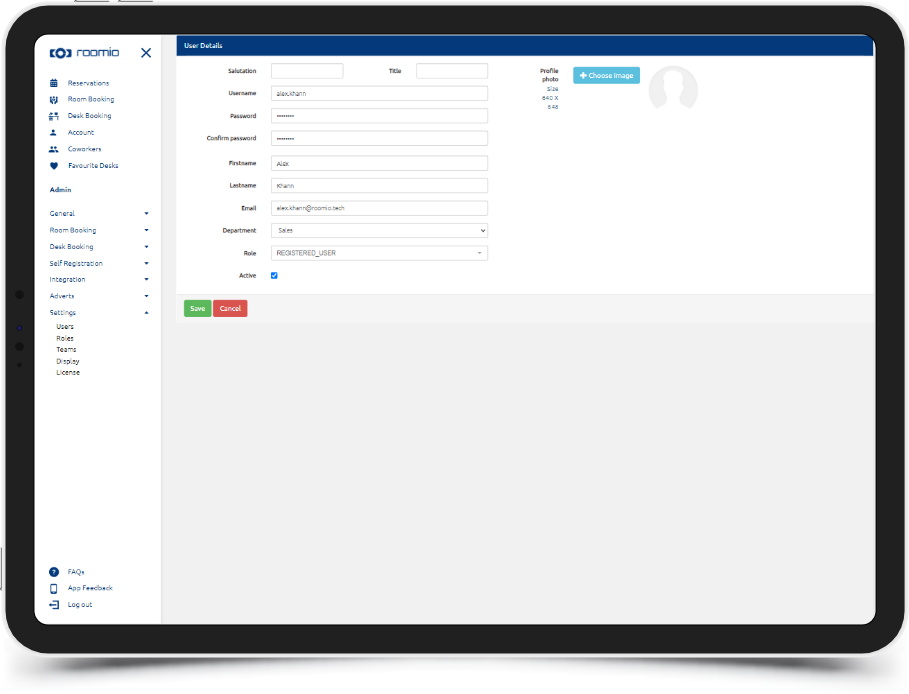
- add or remove users
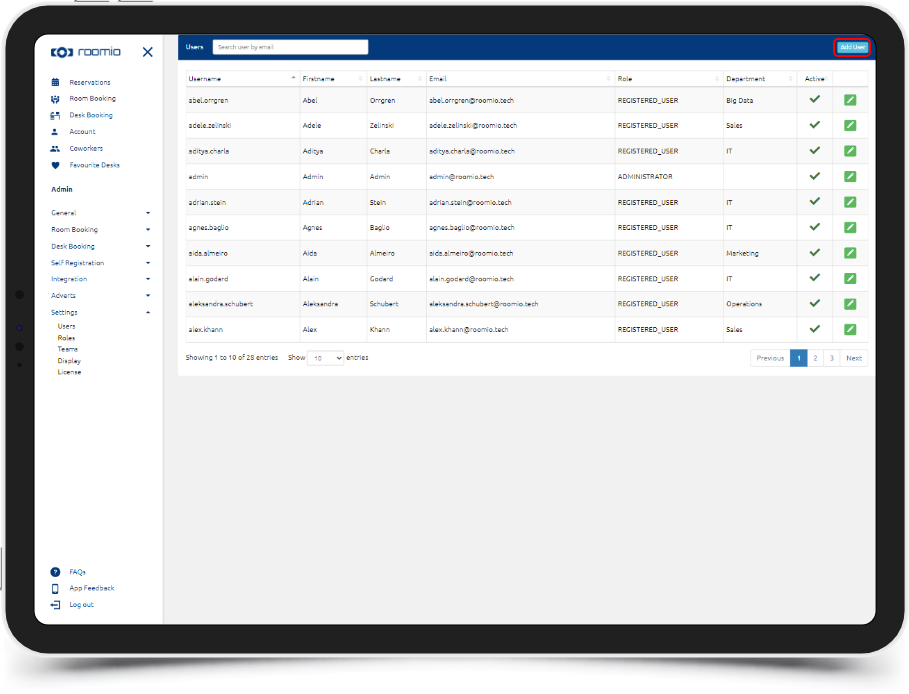
- define users’ roles and permissions
- create teams, so your colleagues can book desks in the same space for the entire team


Enable agile working with roomio desk booking app!
Need more details or maybe some custom features? Contact us for a demo!